PacketiX VPN Server – インストール Linux編
概要
LinuxへのPacketiX VPN Serverの導入方法を記載。
PacketiX VPNとは

PacketiX VPN は企業内、クラウドおよびスマートフォン環境のための VPN 構築に利用可能な、複数 VPN プロトコルに対応した VPN ソフトウェアです。強力な機能を有していますが、企業内のシステム管理者や一般 PC ユーザーの方でも容易に導入いただくことができます。
同社のフリーウェアで「SoftEther VPN」がありますが違いはこちらの記事が参考になります
https://vintage.ne.jp/blog/2013/12/273
手順
1.ファイルのダウンロード
今回は「PacketiX VPN」なので「PacketiX VPN 4.0のWebサイト」からダウンロードを行ないます。
ダウンロードサイト:http://www.packetix-download.com/ja.aspx
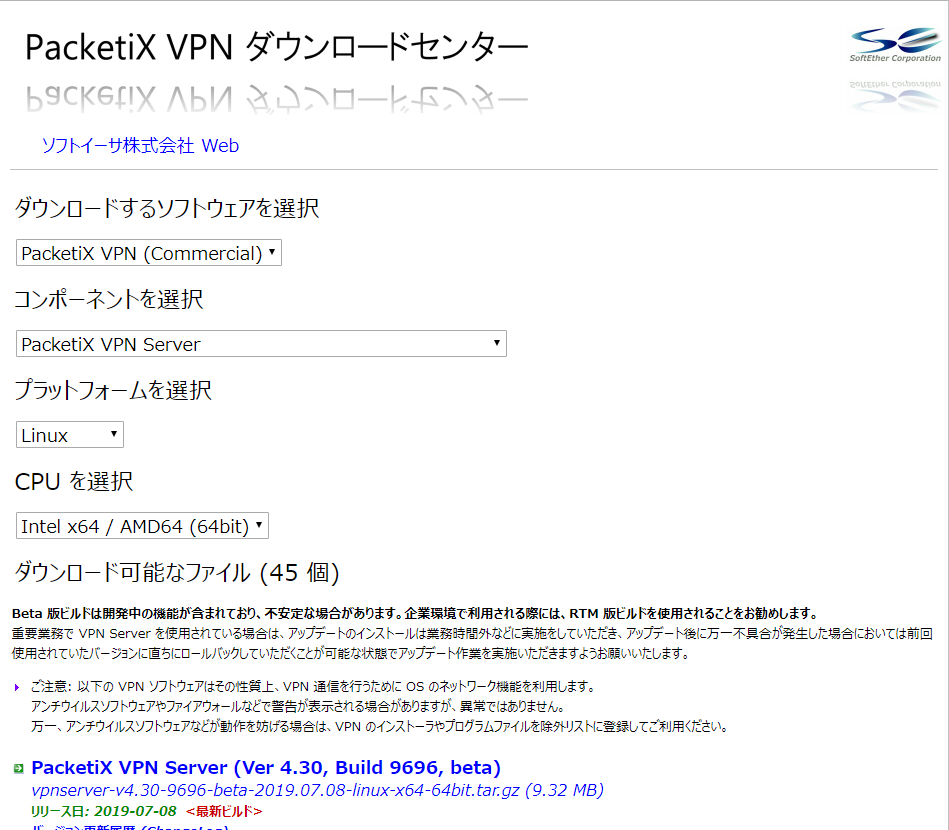
2.ダウンロードしたファイルをアップロード
ダウンロードファイル 例)
vpnserver-v4.30-9696-beta-2019.07.08-linux-x64-64bit.tar.gz
3.パッケージの解凍
※以後、rootで作業とします。 以下のコマンドを実行してファイルを解凍する。
[root@vpn-server]# tar xzvf vpnserver-v4.30-9696-beta-2019.07.08-linux-x64-64bit.tar.gz実行結果
vpnserver/
vpnserver/Makefile
vpnserver/.install.sh
vpnserver/ReadMeFirst_License.txt
vpnserver/Authors.txt
vpnserver/ReadMeFirst_Important_Notices_ja.txt
vpnserver/ReadMeFirst_Important_Notices_en.txt
vpnserver/ReadMeFirst_Important_Notices_cn.txt
vpnserver/code/
vpnserver/code/vpnserver.a
vpnserver/code/vpncmd.a
vpnserver/lib/
vpnserver/lib/libcharset.a
vpnserver/lib/libcrypto.a
vpnserver/lib/libedit.a
vpnserver/lib/libiconv.a
vpnserver/lib/libintelaes.a
vpnserver/lib/libncurses.a
vpnserver/lib/libssl.a
vpnserver/lib/libz.a
vpnserver/lib/License.txt
vpnserver/hamcore.se2
4.実行可能ファイルの生成
カレントディレクトリを変更する。
[root@vpn-server]# cd vpnserver実行ファイルを作成する。
[root@vpn-server vpnserver]# make実行結果
--------------------------------------------------------------------

PacketiX VPN Server (Ver 4.30, Build 9696, Intel x64 / AMD64) for Linux Install Utility
Copyright (c) SoftEther Corporation. All Rights Reserved.

--------------------------------------------------------------------


Do you want to read the License Agreement for this software ?

 1. Yes
 2. No

Please choose one of above number:
1
「1」を入力してEnterを押下。
~省略~
Did you read and understand the License Agreement ?
(If you couldn't read above text, Please read 'ReadMeFirst_License.txt'
 file with any text editor.)

 1. Yes
 2. No

Please choose one of above number:
1
「1」を入力してEnterを押下。
~省略~
Did you agree the License Agreement ?

1. Agree
2. Do Not Agree

Please choose one of above number:
1
「1」を入力してEnterを押下。
~省略~
*** SoftEther VPN Server HTML5 Web Administration Console (NEW) ***
This VPN Server / Bridge has the built-in HTML5 Web Administration Console.

After you start the server daemon, you can open the HTML5 Web Administration Console is available at

https://127.0.0.1:8888/
  or
https://ip_address_of_the_vpn_server:8888/

This HTML5 page is obviously under construction, and your HTML5 development contribution is very appreciated.

--------------------------------------------------------------------

make[1]: Leaving directory `/root/vpnserver'
[root@vpn-server vpnserver]#
※この段階で以下のエラーが発生した場合はgccがインストールされていない可能性が有ります
~省略~
gcc code/vpnserver.a -no-pie -O2 -fsigned-char -pthread -m64 -lm -ldl -lrt -lpthread -L./ lib/libssl.a lib/libcrypto.a lib/libiconv.a lib/libcharset.a lib/libedit.a lib/libncurses.a lib/libz.a lib/libintelaes.a -o vpnserver
make[1]: gcc: Command not found
make[1]: *** [i_read_and_agree_the_license_agreement] Error 127
make[1]: Leaving directory `/root/vpnserver'
[root@vpn-server vpnserver]#
gccをインストールしてから再試行します。
[root@vpn-server vpnserver]# yum install gcc
5.VPN Serverの配置
[root@vpn-server vpnserver]# cd ..
[root@vpn-server]# mv vpnserver /usr/local
[root@vpn-server]# ls -l /usr/local/vpnserver
total 14204
-rwxrwxrwx 1 root root      82 Jul  8 03:33 Authors.txt
drwx------ 2 root root    4096 Jul  8 03:21 chain_certs
drwxrwxrwx 2 root root    4096 Jul  8 03:21 code
-rwxrwxrwx 1 root root 4593196 Jul  8 03:33 hamcore.se2
-rw------- 1 root root     867 Jul  8 03:21 lang.config
drwxrwxrwx 2 root root    4096 Jul  8 03:21 lib
-rwxrwxrwx 1 root root    3058 Jul  8 03:33 Makefile
-rwxrwxrwx 1 root root   32042 Jul  8 03:33 ReadMeFirst_Important_Notices_cn.txt
-rwxrwxrwx 1 root root   37537 Jul  8 03:33 ReadMeFirst_Important_Notices_en.txt
-rwxrwxrwx 1 root root   52482 Jul  8 03:33 ReadMeFirst_Important_Notices_ja.txt
-rwxrwxrwx 1 root root   64160 Jul  8 03:33 ReadMeFirst_License.txt
-rwxr-xr-x 1 root root 4862872 Jul  8 03:21 vpncmd
-rwxr-xr-x 1 root root 4862984 Jul  8 03:21 vpnserver
[root@vpn-server]#
6.動作チェック
[root@vpn-server ~]# cd /usr/local/vpnserver/
[root@vpn-server ~]# ./vpncmd
カレントディレクトリを変更後、「./vpncmd」を入力してEnterを押下。
vpncmd command - PacketiX VPN Command Line Management Utility
PacketiX VPN Command Line Management Utility (vpncmd command)
Version 4.30 Build 9696   (English)
Compiled 2019/07/08 12:09:40 by yagi at pc33
Copyright (c) SoftEther Corporation. All Rights Reserved.

By using vpncmd program, the following can be achieved.

1. Management of VPN Server or VPN Bridge
2. Management of VPN Client
3. Use of VPN Tools (certificate creation and Network Traffic Speed Test Tool)

Select 1, 2 or 3:3
「3」を入力してEnterを押下。
VPN Tools has been launched. By inputting HELP, you can view a list of the commands that can be used.

VPN Tools>check
「check」を入力してEnterを押下。
Check command - Check whether PacketiX VPN Operation is Possible
---------------------------------------------------
PacketiX VPN Operation Environment Check Tool

Copyright (c) SoftEther Corporation.
All Rights Reserved.

If this operation environment check tool is run on a system and that system passes, it is most likely that PacketiX VPN software can operate on that system. This check may take a while. Please wait...

Checking 'Kernel System'...
              Pass
Checking 'Memory Operation System'...
              Pass
Checking 'ANSI / Unicode string processing system'...
              Pass
Checking 'File system'...
              Pass
Checking 'Thread processing system'...
              Pass
Checking 'Network system'...
              Pass

All checks passed. It is most likely that PacketiX VPN Server / Bridge can operate normally on this system.

The command completed successfully.

VPN Tools>
7.自動起動設定
[root@vpn-server vpnserver]# cat > /etc/init.d/vpnserver
DAEMON=/usr/local/vpnserver/vpnserver
LOCK=/var/ock/subsys/vpnserver
test -x $DAEMON || exit 0
case "$1" in
start)
$DAEMON start
touch $LOCK
;;
stop)
$DAEMON stop
rm $LOCK
;;
restart)
$DAEMON stop
sleep 3
$DAEMON start
;;
*)
echo "Usage: $0 {start|stop|restart}"
exit 1
esac
exit 0
最終行を改行後「Ctrl+D」を押下。 以下のコマンドを実行して権限を変更する。
[root@vpn-server vpnserver]# chmod 755 /etc/init.d/vpnserver以下のコマンドを実行して自動起動を設定する。
[root@vpn-server vpnserver]# /sbin/chkconfig --add vpnbridge
8.サービスの開始
以下のコマンドを実行してサービスを起動する。
[root@vpn-server vpnserver]# /etc/init.d/vpnbridge start
以上でPacketiX VPN ServerのLinuxインストールと起動が完了します。
以後の作業をコマンドベースで続けることも出来ますし、Windowsに「Packetix VPN サーバー管理マネージャー」をインストールしてGUIで設定を行うこともできます。